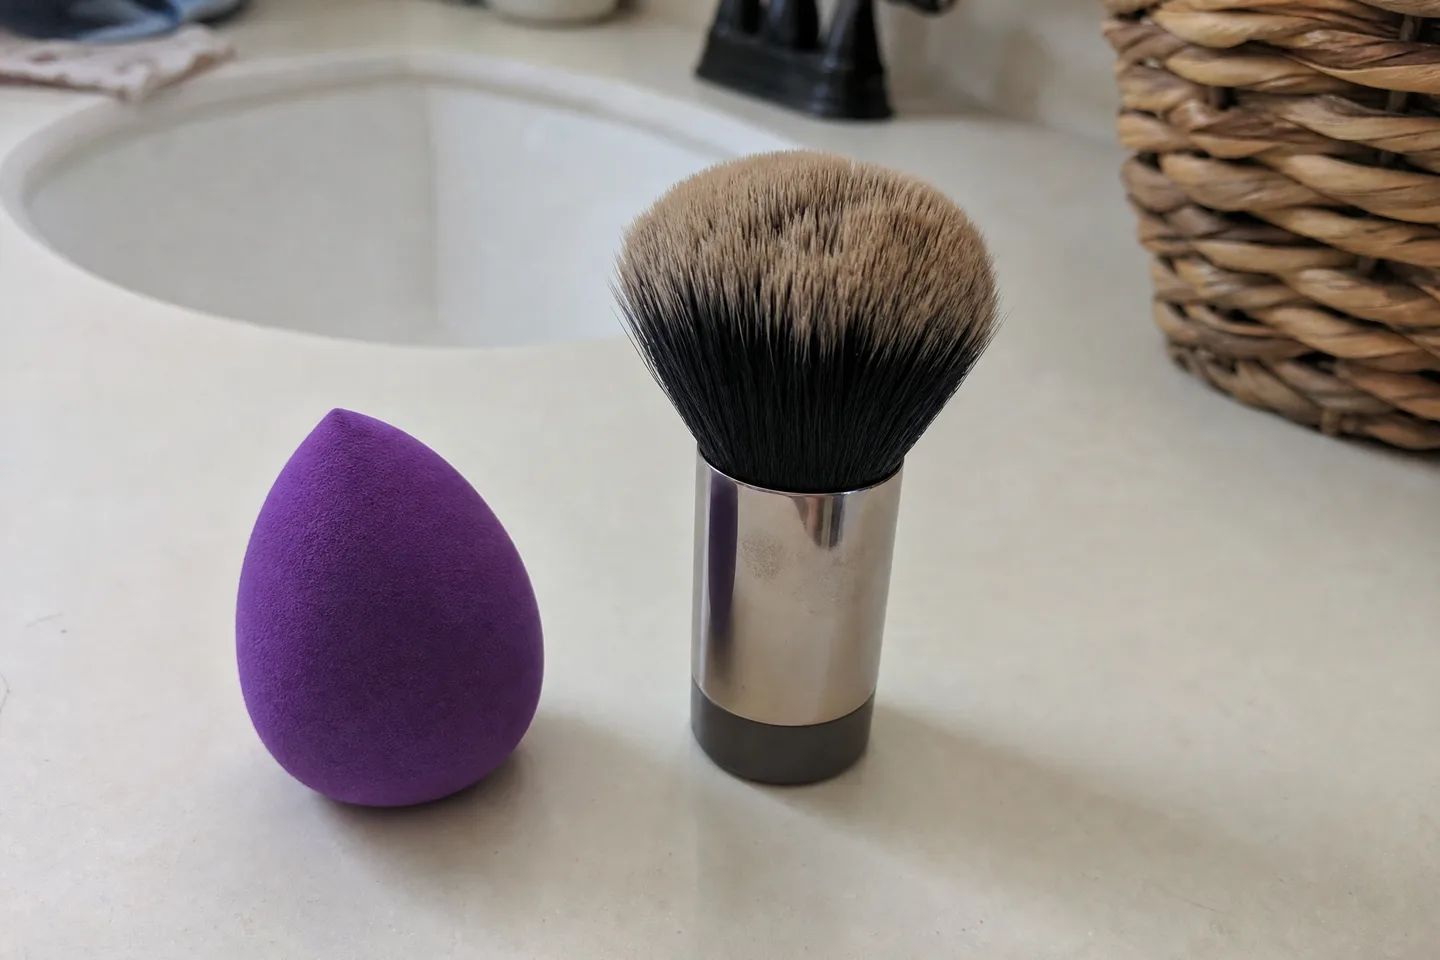
What changes when you switch applicators?
A dense brush, a loose brush and a porous sponge move foundation differently. The result also depends on product amount and whether you sweep, buff or press. Start by reading the foundation's directions and the exact tool's instructions. Do not compare a powder brush with a liquid-foundation sponge and treat the difference as a verdict on every brush.
EcoTools describes its Blending Face Brush as a dense synthetic tool for liquid and cream bases with buildable coverage. That example shows why “brush” needs a more precise description. Pick a tool intended for your actual formula before deciding whether the category suits you.
Compare the jobs, not a universal winner
| Question | Sponge | Foundation brush |
|---|---|---|
| Preparation | May need wetting and squeezing for its model | Check whether this brush is used dry |
| Motion | Often pressing or bouncing | May be sweeping, stippling or buffing |
| Small areas | Check shape and access | Check head size and edge control |
| Aftercare | Plan cleaning and complete drying | Plan bristle cleaning and drying |
Neither column promises better skin or a fixed amount of coverage. Those are outcomes to observe with the product you use. A foundation that sets quickly may also give you less working time than another formula, regardless of applicator. Keep the comparison within the cosmetic's directions.
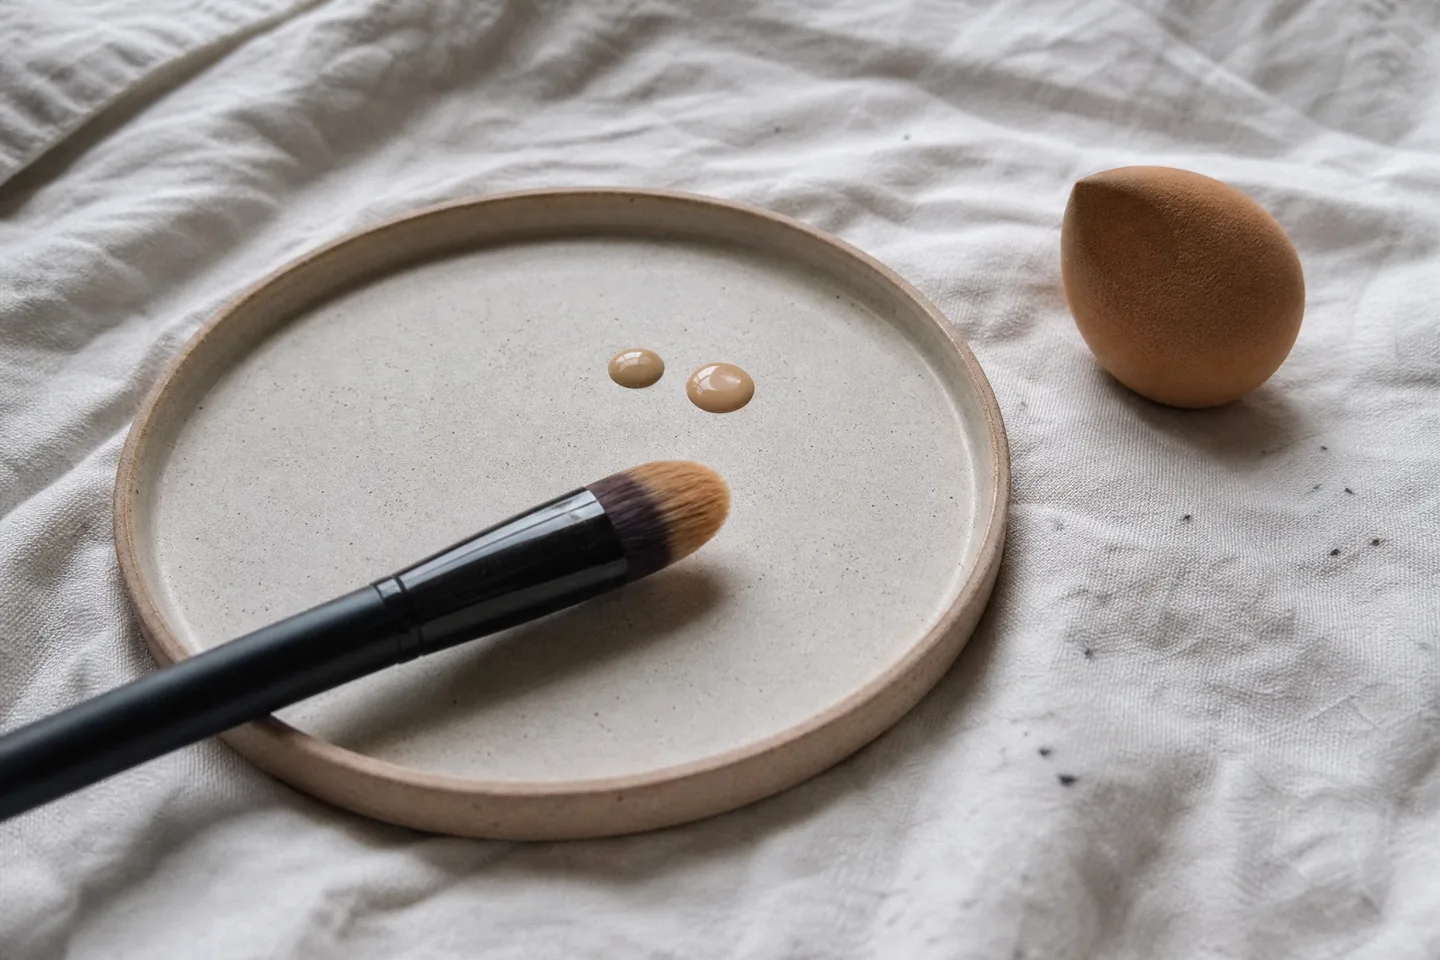
Try a one-formula comparison
- Choose a familiar foundation and suitable clean tools.
- Keep skincare preparation and lighting consistent.
- Prepare each applicator according to its own directions.
- Start with a small, comparable amount of foundation.
- Inspect the blend before adding another layer.
- Note comfort, ease around contours and the care needed afterward.
You can compare on separate days or two areas in one session. Neither is a laboratory trial: different sides of a face and different days are not identical. Use it as a personal decision aid, not proof that one tool always wins. Write down what you changed so that adding more foundation does not get mistaken for a tool effect.
Can you use a brush and then a sponge?
You can try this combination if both tools and the formula support the application. Apply a small amount first, then assess whether a second pass actually improves the finish you want. Real Techniques discusses combining brush application with sponge blending. It is an option, not a necessary extra step or a reason to buy a second tool.
If an area looks patchy, check preparation, amount and working time before pressing harder. Stop if application feels uncomfortable. Our wet-or-dry sponge guide resolves preparation separately; adding extra water is not a universal fix for every formula.
What about streaks, texture and product use?
A streak may reflect technique or a mismatch between the brush and formula, rather than a rule that brushes cannot blend. Likewise, more visible texture after one attempt does not establish that a sponge will solve it. Change one variable at a time: tool, amount or motion. Let the foundation settle as its directions suggest before evaluating the result.
Beautyblender's comparison describes the brand's preferred sponge approach. Read manufacturer comparisons as guidance about their tools, rather than independent proof of a universal ranking. Do not calculate product savings from the stain left on an applicator: appearance is not a measurement of foundation used.
Choose the routine you will actually maintain
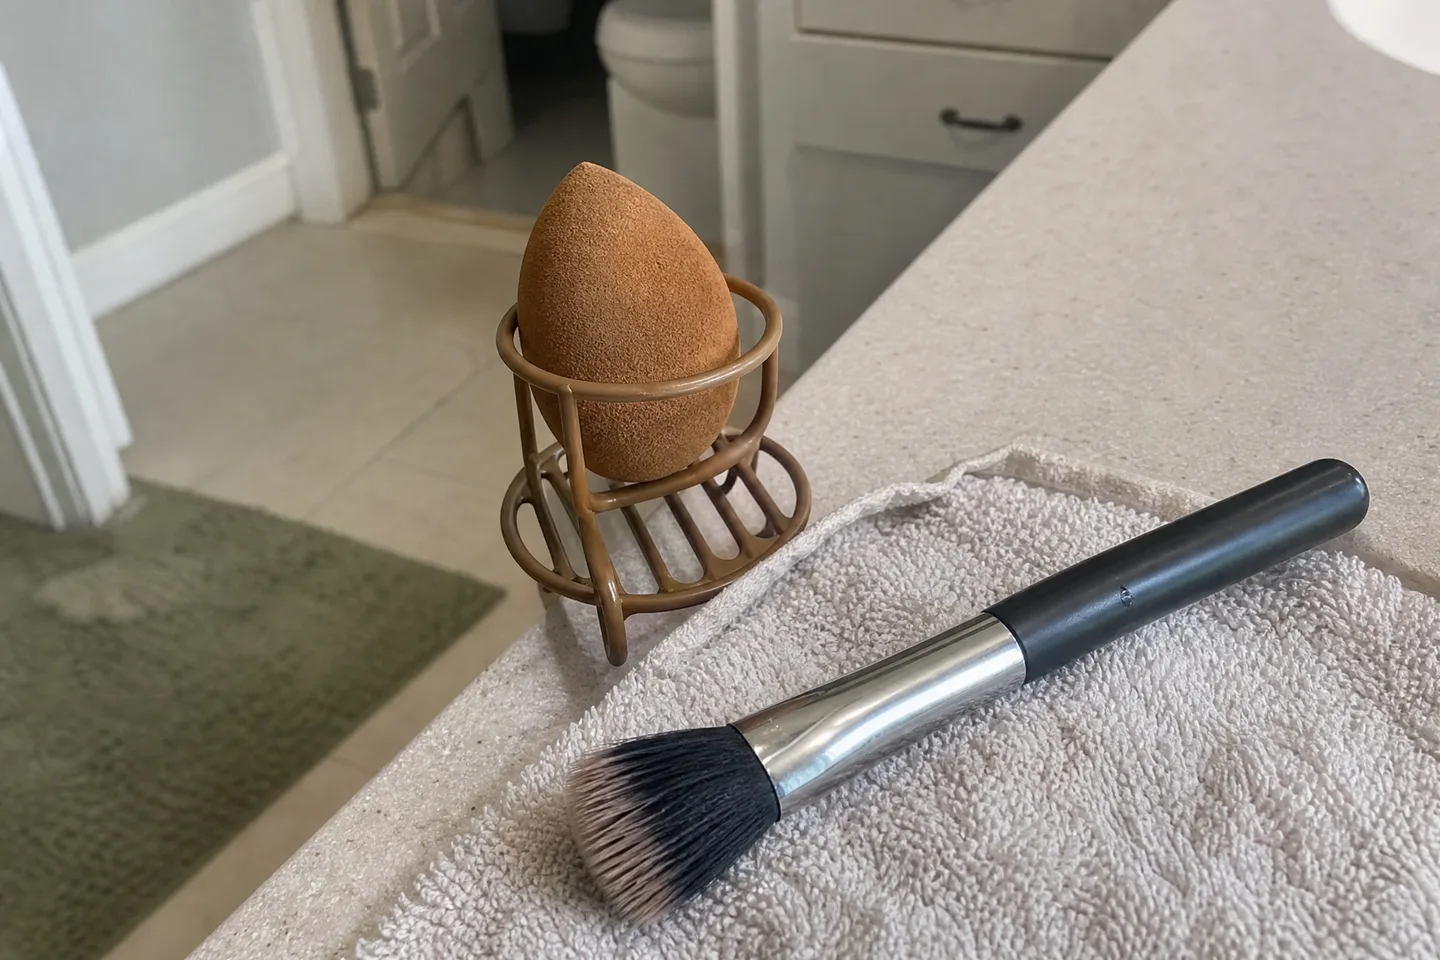
Include washing, drying and storage in your decision. A tool is inconvenient if it is still damp when you need to pack it, even if you liked the finish. Our brush cleaning guide and makeup-bag checklist separate the applicator from its container. Follow each tool's directions rather than transferring a cleaning method between materials.
Before an event, use a familiar combination and keep a clean alternative available. Put experimentation into your low-maintenance routine planning ahead of time. The useful winner is the suitable method you can repeat comfortably, with the finish and care commitments you prefer.
Which comparison should you try first?
I like my current finish
Keep the tool; review cleaning and storage.
I see streaks
Check the brush shape, formula and motion before adding product.
I want to try a sponge
Confirm its preparation instructions and compare one formula.
Before packing
Tool still damp
Allow complete drying as directed.
No time for a new method
Use a familiar clean applicator.
Tools damaged
Set them aside and follow replacement guidance.
Questions people ask
Is a brush always full coverage?
No. Density, formula, amount and motion all matter.
Is a sponge always used wet?
Use the exact model’s directions.
Can I use both tools?
Yes, if their instructions and the formula support it; another step is optional.
Does a stained sponge prove product waste?
No. A stain is not a measurement.
Which is better before an event?
Use the familiar suitable method that you have already practiced.
Sources and further reading
Sources checked 2026-10-25.