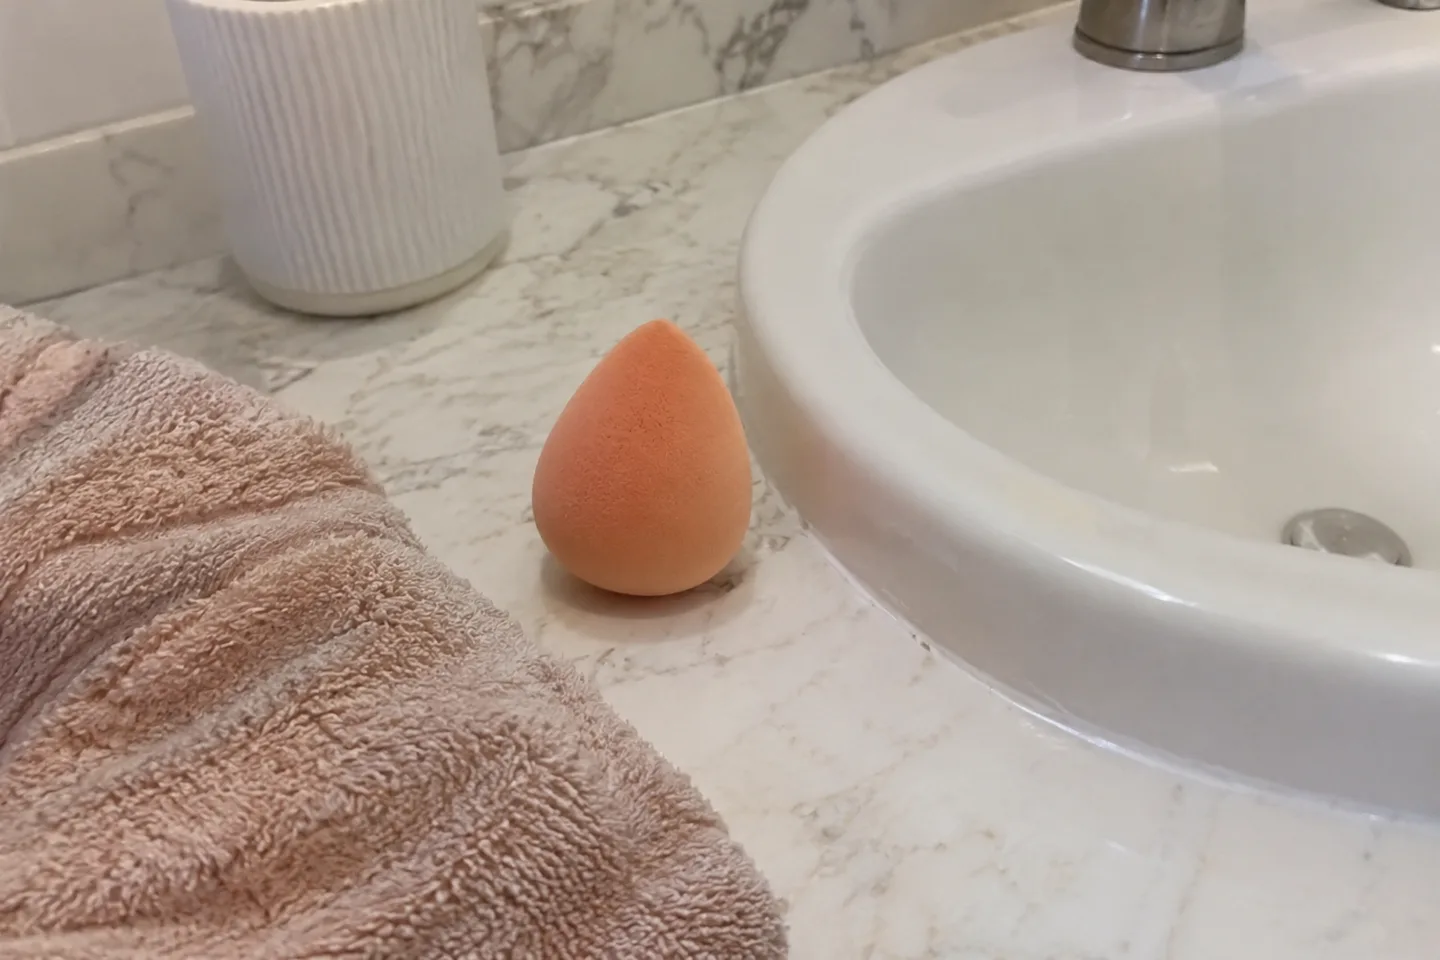
Which sponge do you actually own?
Keep the model name and directions rather than relying only on its color or teardrop shape. The word sponge can cover tools with different materials and intended uses. Check whether yours is reusable, designed for damp application, or supplied for a particular cosmetic. A puff and a porous blending sponge do not automatically share one preparation method.
The Beautyblender application guide describes wetting its sponge, squeezing out water and using a bouncing motion. Keep those instructions attached to the tool they describe. These editorial photographs show generic accessories, not a performance test of the named products.
What does damp mean at the makeup stage?
For a tool whose instructions call for damp use, remove excess water so it is not dripping onto the cosmetic or your clothes. A clean towel can help with the squeezing step if the maker recommends it. Avoid digging nails into the foam or twisting it forcefully; inspect the surface as you prepare it.
EcoTools describes wetting its Bioblender and squeezing until damp before adding complexion product. That is more specific than assuming a visibly wet sponge is ready. Follow the makeup formula’s own directions too, particularly if its recommended application method differs.
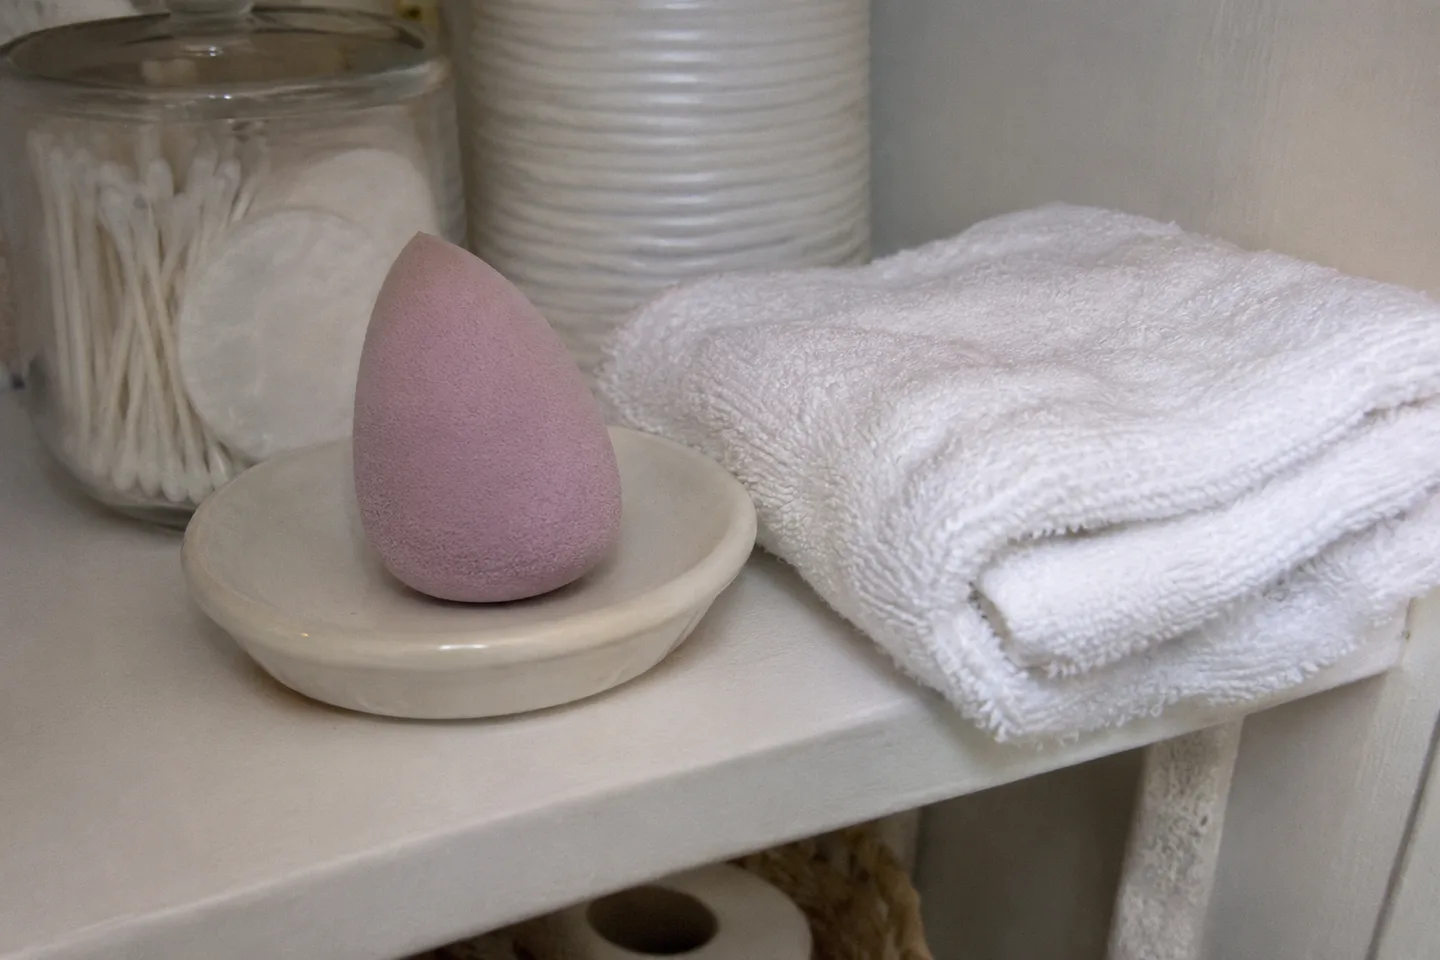
Can dry application be a valid choice?
Some tools have a dry-use option; others have a specific wetting instruction. Read the current product information for the exact version you have. Do not generalize from a social post about a similar-looking sponge, or from a manufacturer's range description to every item in that range.
Real Techniques recommends damp use for its Miracle Complexion Sponge. Compare the actual instructions before experimenting with a preferred finish. No universal rule makes dry application fuller coverage or damp application ideal with every foundation. Start with a small amount of product and assess your own combination without calling it a controlled test.
| Stage | Useful check |
|---|---|
| Application | Model directions: wet, damp or dry |
| Cleaning | Compatible cleanser and method |
| Storage | Complete drying and a clean place |
Does adding water solve an uneven result?
Not necessarily. Check the amount of makeup, the tool’s condition and the formula’s directions before repeatedly wetting the sponge or layering more product. Change one part of the routine at a time so you can describe what changed. A streak or patch does not identify the cause on its own.
If the foam tears or a persistent unfamiliar smell remains, stop using that tool and consult its care and replacement guidance. Do not disguise a smell with fragrance or use household disinfectants as an improvised cosmetic-tool treatment. Our replacement guide separates date information from condition checks.
How should the sponge dry before travel?
Follow the cleaning instructions and allow thorough drying in a clean, ventilated place. The Real Techniques product page explicitly calls for thorough air drying. A surface that feels dry is not a promise about the interior, and a travel case is not automatically a drying device.
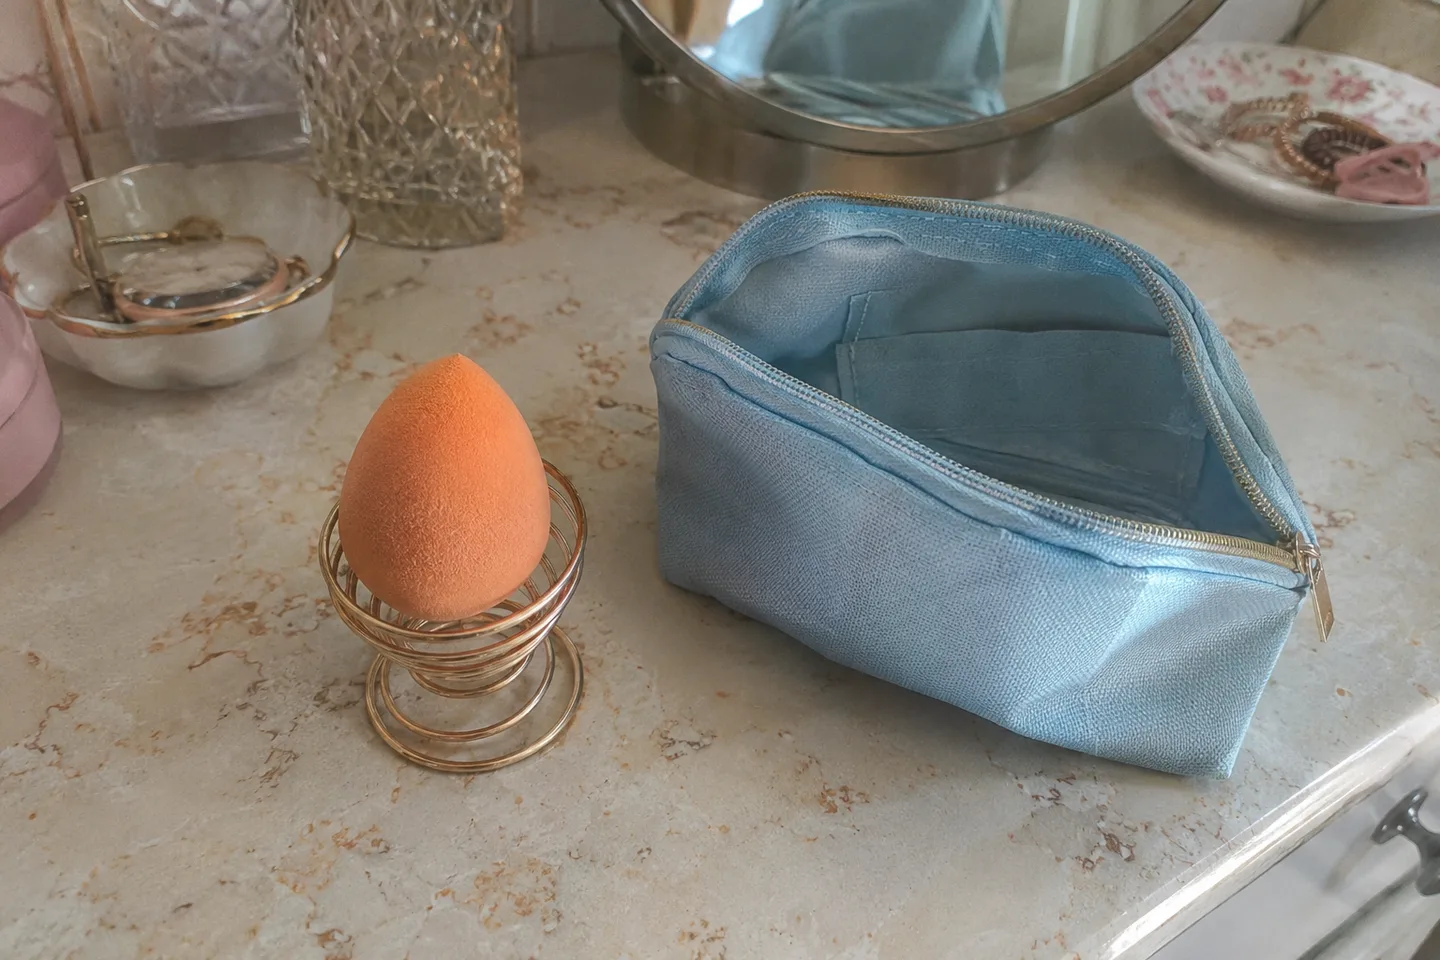
Plan the time between cleaning and packing. Keep the tool away from used towels and other soiled accessories. Check the makeup-bag care guide for the separate container: a clean sponge in a dirty pocket is an unfinished storage plan. Follow the case maker’s directions as well.
What belongs in a shorter everyday routine?
You can choose a different suitable applicator or skip a complexion step when the preparation and drying schedule does not work for you. Convenience does not require overriding the tool instructions. Keep a ready, clean option available rather than packing a damp tool simply to preserve a fixed routine.
The low-maintenance beauty guide can help you plan optional steps around the time available. Make the decision before getting dressed, with a place for the used tool afterwards. Application, care and storage are all part of the routine.
Which stage are you deciding about?
Preparing the tool
Read its exact wet-or-dry directions.
A dripping sponge
Remove excess water as instructed before applying makeup.
Packing after cleaning
Allow full drying in a clean ventilated place first.
If the result is uneven
I want to add more water
Check formula, amount and tool instructions first.
The foam is damaged
Stop using that tool and check replacement guidance.
I am short of time
Choose an appropriate clean alternative or skip the optional step.
Questions people ask
Should a makeup sponge be wet or dry?
Follow the directions of that exact model.
Should a damp sponge drip?
Remove excess water as instructed before application.
Can water fix every uneven finish?
No. Formula, amount and tool condition also need checking.
Can I put a cleaned sponge straight in a closed bag?
Allow it to dry completely as directed before storage.
Do similar shapes have identical instructions?
No. Keep the model and its care guidance together.
Sources and further reading
Sources checked 2026-10-25.